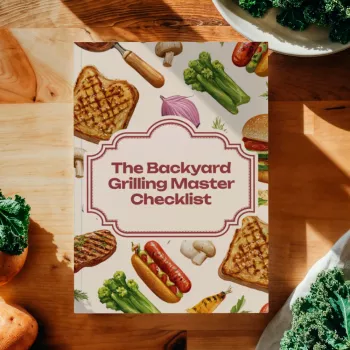
Great grilling rarely comes down to luck—it comes down to prep, timing, and a simple routine that keeps the fun in the cookout. Our team created The Backyard Grilling Master Checklist (digital download) to guide your backyard BBQ from setup to serving, so essentials don’t get missed and your grill stays in the “easy and enjoyable” zone.
If you’ve ever had that mid-cook moment—wondering where the clean tongs went, whether the chicken is actually done, or how long you should rest steak—this checklist is built to turn the chaos into a steady flow you can repeat all season.
A smooth cookout starts well before the lid goes up. A checklist puts the most common “BBQ derailers” in front of you when there’s still time to fix them.
It also supports safer habits around outdoor cooking. For grilling safety basics (distance from structures, supervision, and equipment handling), the NFPA’s guidance is a smart reference: NFPA: Grilling Safety.
Checklists work best when you use them as “anchors” at a few key times, rather than trying to micromanage every second.
| Stage | What to place there | Why it matters |
|---|---|---|
| Prep zone (clean) | Seasonings, oil, clean tongs, paper towels, trays | Prevents last-minute searching and keeps seasoning consistent |
| Raw zone | Raw proteins on a rimmed tray, separate utensils, disposable gloves | Reduces cross-contact and keeps handling organized |
| Cooked zone | Clean platter, foil, resting rack (optional), finishing salt/sauce | Makes resting and serving effortless—no reusing raw trays |
| Grill station | Thermometer, heat-safe gloves, long tongs, grill brush, timer | Supports safer flips, accurate doneness, and faster cleanup |
Once you’ve grilled a few times, you realize the “secret” is mostly fundamentals—executed the same way every time.
For quick, authoritative temperature targets, use the USDA’s chart: USDA FSIS: Safe Minimum Internal Temperatures. And for outdoor serving and chill-time basics (especially in warm weather), the CDC’s guidance is helpful: CDC: Food Safety for BBQs and Picnics.
If you want a cookout that feels calm, build your plan around “what takes longest” and “what can rest.” Here’s a simple flow our team uses again and again:
Combine those with The Backyard Grilling Master Checklist (digital download), and you get a repeatable routine: stage, heat, cook, rest, serve, clean—without turning your cookout into a project.
It works well for both. Beginners get a clear structure for setup, safety, and timing, while experienced grillers use it to stay consistent, manage multiple foods at once, and avoid forgetting small but important steps.
Yes. The core habits—staging tools, preheating, building two heat zones, using a thermometer, resting, and cleaning while warm—apply to both gas and charcoal grills.
Keep fuel, long tongs, an instant-read thermometer, heat-safe gloves, clean trays for raw and cooked foods, a timer, a grill brush, foil, paper towels, and a simple seasoning set ready to go.










Leave a comment