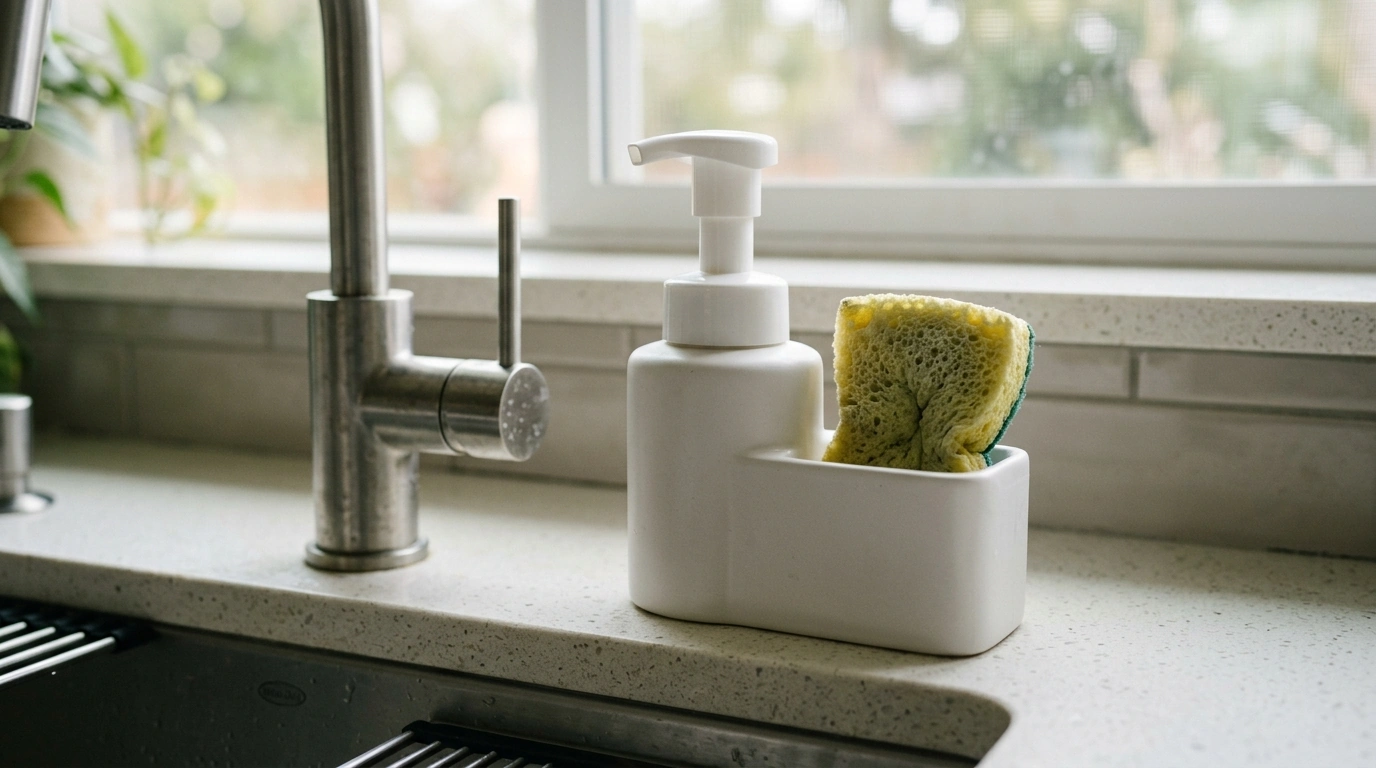
A tidy sink is easier to keep clean, faster to use, and nicer to look at—especially when soap and sponge stop drifting around the counter. Our White 2-in-1 Manual Foam Soap Dispenser with Sponge Holder combines two daily essentials into one compact station: a manual foaming pump for handwashing and a dedicated spot to park a sponge between uses. It’s a simple upgrade that helps reduce countertop clutter and keeps the “wet zone” contained where it belongs.
When soap and sponge live in different places, the sink area tends to look like it grew piece by piece—an extra bottle here, a tray there, and a sponge that never quite has a home. Our team likes a combined setup because it keeps the workflow simple and the counter calmer.
If your sink sits in an open kitchen where you can see it from the dining table, a compact station can make the whole space feel more pulled together—without adding more decor.
Manual foam dispensers work best when the soap mixture is light enough to pull through the pump, but concentrated enough to produce cushy foam. A good starting point is a mild liquid hand soap or gentle dish soap diluted with water.
| Soap Type | Starting Mix | When to Adjust |
|---|---|---|
| Liquid hand soap (standard) | 1 part soap : 3 parts water | Increase soap for denser foam; add water if pump feels tight |
| Mild dish soap | 1 part soap : 4 parts water | Increase soap if foam collapses quickly; thin if residue builds up |
| Sensitive/fragrance-free liquid soap | 1 part soap : 2–3 parts water | Adjust for comfort on skin and pump smoothness |
For handwashing best practices, the CDC’s handwashing guidance and the FDA’s handwashing recommendations are solid references—especially if you’re washing up between cooking steps.
A sponge holder only helps if the sponge goes back where it belongs—and if it’s not soaking wet when you set it down. A couple small habits make a big difference in how fresh your sink area feels day to day.
If you’re using the sponge for counters as well as dishes, consider keeping one sponge “sink-only” and another for countertop wipe-downs to keep things cleaner and more organized.
Foaming pumps are dependable when they’re kept free of thick residue. Our team recommends a quick rinse routine that takes less time than dealing with a clogged dispenser later.
Standard liquid hand soap or mild dish soap diluted with water tends to foam most consistently. Avoid very thick, lotion-like, gritty, or gel-heavy soaps, and adjust the ratio based on foam texture and how smoothly the pump presses.
Empty the mixture, rinse the reservoir, then flush the pump by pumping warm water through several times. If the original mix was too thick, rebuild it with more water and avoid letting soap dry inside the pump between refills.
Rinse and wring the sponge thoroughly before placing it back so it can drain and dry faster. Swapping sponges regularly and wiping the holder area during normal counter cleaning also helps keep odors and residue down.










Leave a comment