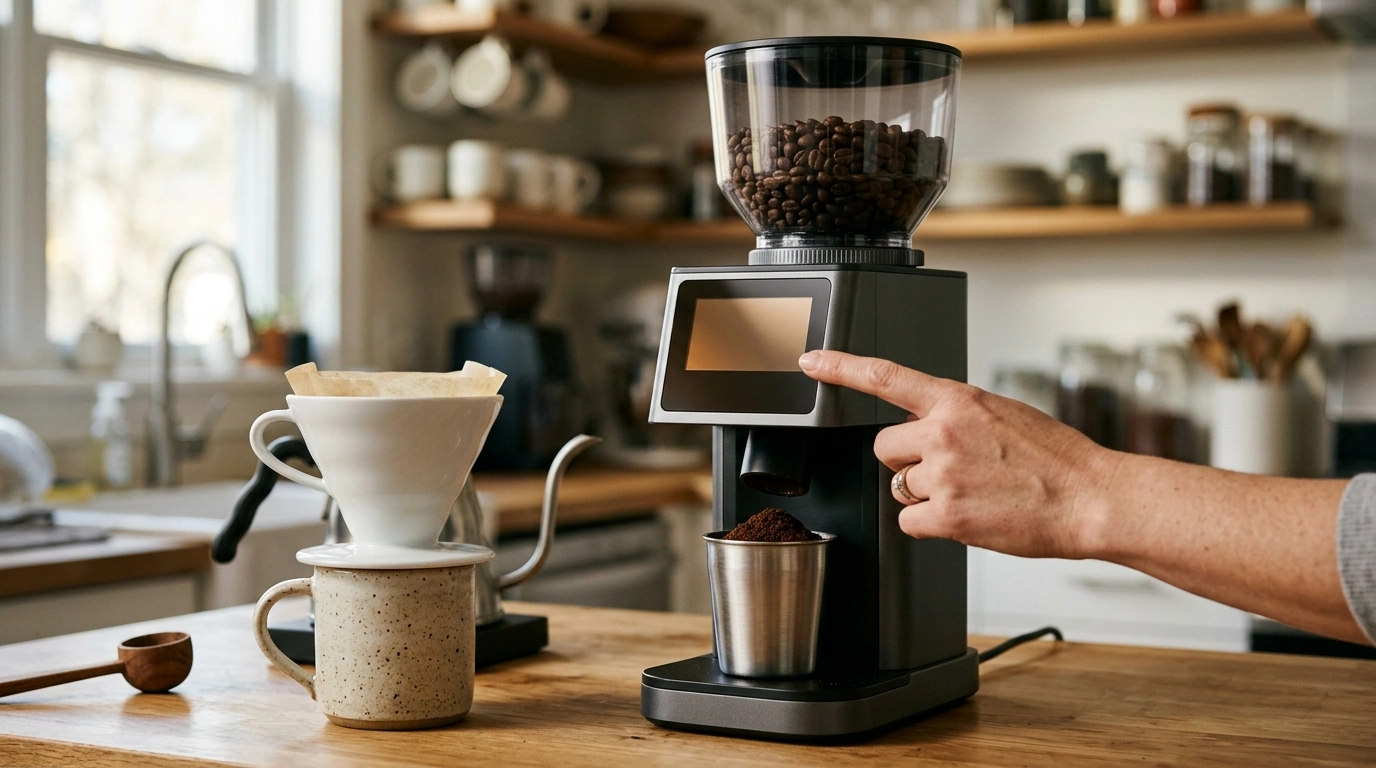
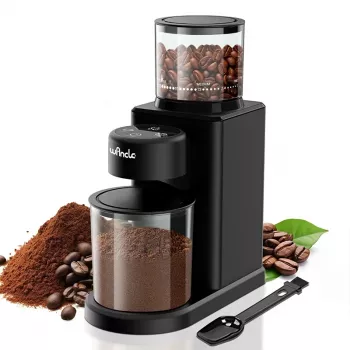
A reliable grinder is the fastest way to make home coffee taste cleaner, sweeter, and more repeatable. Our Electric Conical Burr Coffee Grinder with Touchscreen & 25 Grind Settings is built for practical daily use: consistent burr grinding, quick selection on a touchscreen, and enough range to cover everything from espresso-style fineness to a coarser press pot. Below, our team breaks down how to use the 25 settings to match common brew methods, reduce bitterness and sourness, and streamline your mornings without extra fuss.
Blade “chopping” tends to create a mix of powder and chunks. Burr grinding aims for a tighter particle range, which helps extraction stay more even from the first sip to the last. When extraction is more even, you typically get less harsh bitterness from over-extracted fines and less sharp sourness from under-extracted “boulders.”
Conical burrs are a popular everyday choice because they’re designed to grind steadily across multiple brew styles without constant babysitting. The bigger win, though, is repeatability: a consistent grinder makes your recipe adjustments meaningful. When you change grind size, dose, or brew time, you get predictable results instead of random swings.
For more general brewing fundamentals, we like the resources from the Specialty Coffee Association (SCA) and the National Coffee Association (NCA).
When you switch between weekday drip and weekend pour-over, the “best” grinder is the one you’ll actually adjust. Touchscreen selection keeps grind changes simple, so you’re not guessing where you left the dial yesterday.
With 25 grind steps, you get a practical ladder for dialing in. Our team’s rule of thumb: move 1–2 steps at a time. That’s usually enough to correct flavor without overshooting into the opposite problem.
And for aroma and freshness: grinding right before brewing helps keep flavor from fading on the counter.
Think of grind setting as your first “control knob” for taste balance. Start in the recommended zone, brew once, then adjust by taste. If your coffee tastes weak or sour, you’re often under-extracting—go a little finer. If it tastes bitter, drying, or harsh, you’re often over-extracting—go a little coarser.
| Brew method | Starting grind zone (within 25 steps) | What to change if it tastes sour/weak | What to change if it tastes bitter/astringent |
|---|---|---|---|
| Drip coffee maker | Medium (around the middle steps) | Go 1–2 steps finer | Go 1–2 steps coarser |
| Pour-over (V60-style) | Medium-fine | Finer or slightly longer brew time | Coarser or slightly shorter brew time |
| AeroPress | Medium-fine to medium | Finer or increase steep time | Coarser or reduce steep time |
| Espresso-style | Fine (near the finest steps) | Finer (small moves) or increase dose | Coarser (small moves) or reduce dose |
| French press | Coarse | Slightly finer or longer steep | Coarser or shorter steep |
| Cold brew | Coarse | Slightly finer or longer steep | Coarser or shorter steep |
When you’re trying to “fix” a cup, it’s tempting to change everything at once. You’ll get better results faster by using a short routine that isolates variables.
Lock in the basics first: fresh beans, consistent water temperature, and the same coffee-to-water ratio. Choose a sensible starting grind setting for your method, then note brew time (or shot time/flow for espresso-style).
If the cup tastes sour or underdeveloped, go 1–2 steps finer. If it tastes bitter or drying, go 1–2 steps coarser. Keep dose and water the same so you learn what each step does.
Once flavor balance is close, adjust strength by dose: more coffee for stronger, less for lighter. That way you’re not chasing extraction problems by changing the wrong variable.
Yes—25 steps are designed to span from fine to coarse. Start near the fine end for espresso-style brewing and near the coarse end for French press, then adjust 1–2 steps based on taste and your brew time or flow.
Sour or weak coffee usually indicates under-extraction, so adjust finer in small increments. Bitter or drying coffee usually indicates over-extraction, so adjust coarser; change grind size first before changing dose.
Do a quick brush-out regularly, especially if you grind daily, and plan a deeper clean periodically depending on how much you use it and how oily your beans are. Keep moisture away from burr components unless the manufacturer specifically allows rinsing.









Leave a comment