HomeBlogBlogCartoon Fruit Wall Stickers: Cute Kitchen Refresh Ideas

Cartoon Fruit Wall Stickers: Cute Kitchen Refresh Ideas

Cartoon Fruit Wall Stickers: Cute Kitchen Refresh Ideas

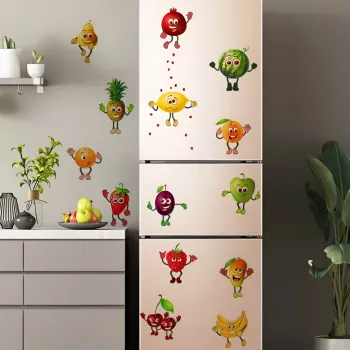
Cartoon Fruit Wall Stickers for a Happier Kitchen: Quick Color, Zero Commitment

Bright, playful fruit decals are an easy way to make the kitchen feel more inviting—without paint, tools, or a full décor overhaul. Our cartoon fruit wall stickers are made for those small “blank wall” moments that need a little life: breakfast corners, coffee stations, pantry doors, and kid-friendly snack zones. If you want the space to feel more cheerful today (and still flexible tomorrow), decals are one of the simplest upgrades you can make. For more guidance, see Does the combination of cartoon stickers and fruit juices ….

What these fruit decals do best

When you’re decorating a kitchen, you’re usually working around permanent choices—cabinets, counters, tile, appliances. Stickers let you add personality without committing to a big change. For further reading, see Cartoon Kitchen Vegetable Wall Stickers DIY Green ….

  • Add instant color to kitchens, dining nooks, and hallways without changing permanent finishes.
  • Create a themed corner (smoothie station, lunch prep zone, fruit bowl shelf) that looks intentional.
  • Help organize visual zones—separate a coffee bar from the rest of the counter area or define a kids’ snack spot.
  • Bring a cheerful cartoon style that pairs well with light woods, white cabinets, and mixed patterns.

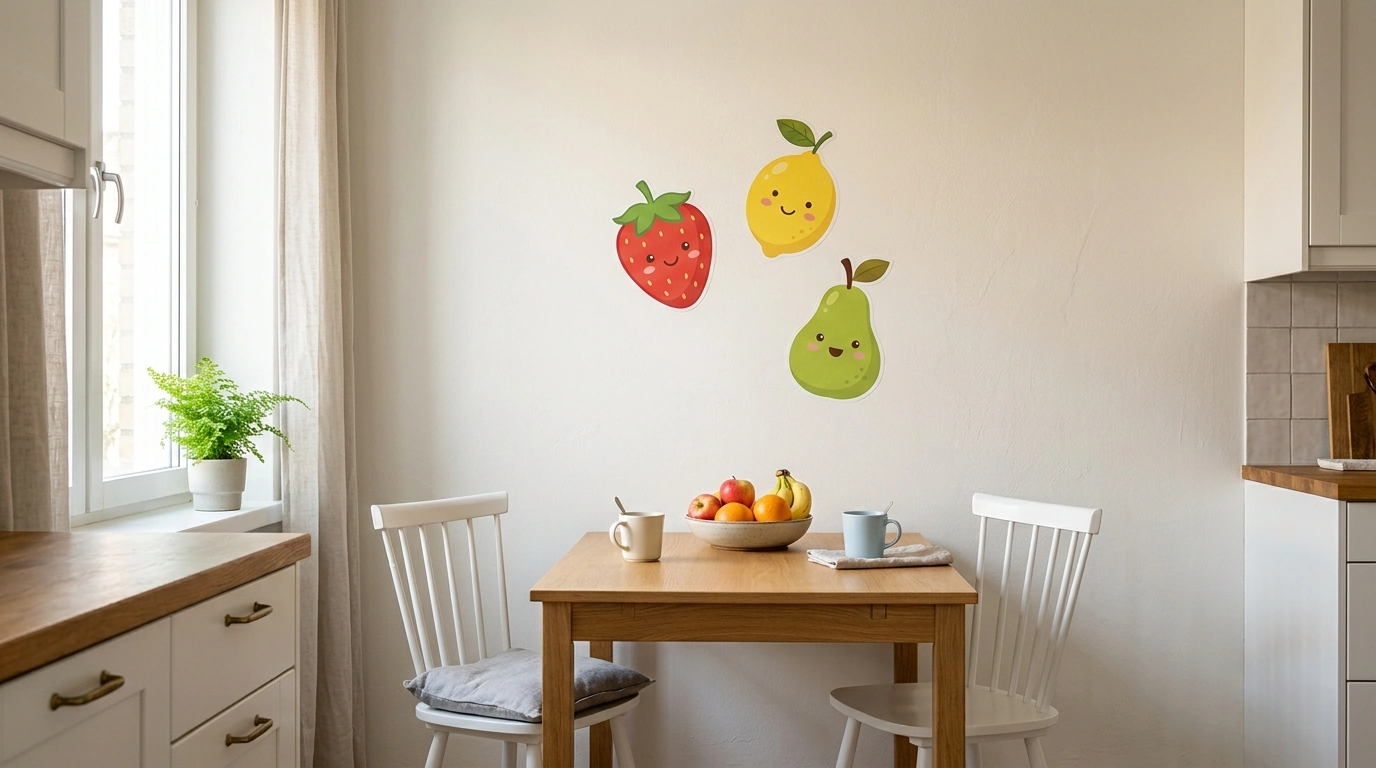
If you want to get started right away, our team recommends beginning with a single cluster using Cartoon Fruit Wall Stickers – Cute Kitchen & Home Décor Decals so the look reads styled instead of scattered.

Where to place cartoon fruit wall stickers (and why it works)

Placement matters more than quantity. The best spots are the ones you see often, but don’t bump constantly—so the stickers stay crisp.

  • Fridge-side wall: balances the “appliance block” with something fun and bright.
  • Breakfast nook: makes the table area feel like a destination, not just extra seating.
  • Coffee/tea station wall: reinforces the ritual corner; looks great above a tray or floating shelf.
  • Pantry door or inside pantry wall: turns a utilitarian space into a small surprise.
  • Kids’ snack shelf area: creates a friendly cue for where snacks live (and where wrappers go).

Room-by-room placement ideas

Spot Best surface Style tip
Kitchen coffee corner Smooth, clean painted wall or cabinet side Cluster stickers above a small tray for a “mini mural” effect
Dining nook Painted wall or glass panel Place decals at eye level when seated to make the nook feel cozy
Pantry area Interior wall or door panel Use a tighter grouping to avoid visual clutter in narrow spaces
Kids’ snack zone Lower wall section or cabinet end Keep decals slightly above hand height to reduce rubbing/peeling
Apartment entry near kitchen Painted wall Add a small cluster to tie the entry to the kitchen palette

Before you stick: simple prep for a cleaner finish

Kitchen air carries more than you notice—steam, oil particles, and everyday dust. A few minutes of prep helps the adhesive sit flat and stay put.

  • Clean the surface first: wipe away dust and cooking residue so the adhesive can grip evenly.
  • Dry completely: moisture under decals can lead to lifting at the edges.
  • Avoid freshly painted walls: allow paint to cure fully before applying decals to reduce the chance of peeling paint later. Benjamin Moore’s guidance on dry time vs. cure time is a helpful reference: https://www.benjaminmoore.com/…/how-long-does-paint-take-to-dry.
  • Test placement with painter’s tape: map your layout first, especially for clusters.
  • Choose a low-touch area: frequent rubbing (chairs, bags, busy door edges) can shorten the crisp look.

A layout that looks styled (not scattered)

A good decal layout feels deliberate—like you meant to create a moment, not just fill space. Our team uses a few easy “rules” that work in both small kitchens and open layouts.

  • Pick a “hero” area: one main cluster reads more polished than small stickers spread everywhere.
  • Use the triangle rule: place 3 key stickers to form a loose triangle, then fill in lightly.
  • Leave breathing room: a little blank wall space makes the colors pop.
  • Match your kitchen’s rhythm: align clusters with shelves, frames, or countertop edges for a tidy look.
  • Repeat a color: if the stickers include warm reds/yellows, echo it with a towel, placemat, or table runner.

Easy pairing ideas with the rest of the table setup

Removing or repositioning without the drama

FAQ

Will wall stickers damage paint when removed?

They’re less likely to cause issues on clean, fully cured, well-adhered paint. To reduce risk, test a small area first, peel slowly from an edge, and use gentle low heat if the adhesive feels stubborn.

What surfaces are best for kitchen wall decals?

Smooth, clean, dry surfaces work best—think cured painted walls, glass, and smooth cabinet sides. Avoid heavily textured walls and areas that get greasy splatter or frequent steam.

How do you keep decals from peeling in a busy kitchen?

Degrease and dry the surface thoroughly, then press edges firmly during application. Place decals away from direct heat/steam and in lower-touch zones to prevent repeated rubbing from hands, chairs, or bags.

Was this article helpful?

Yes No
Leave a comment
Top

Shopping cart

×